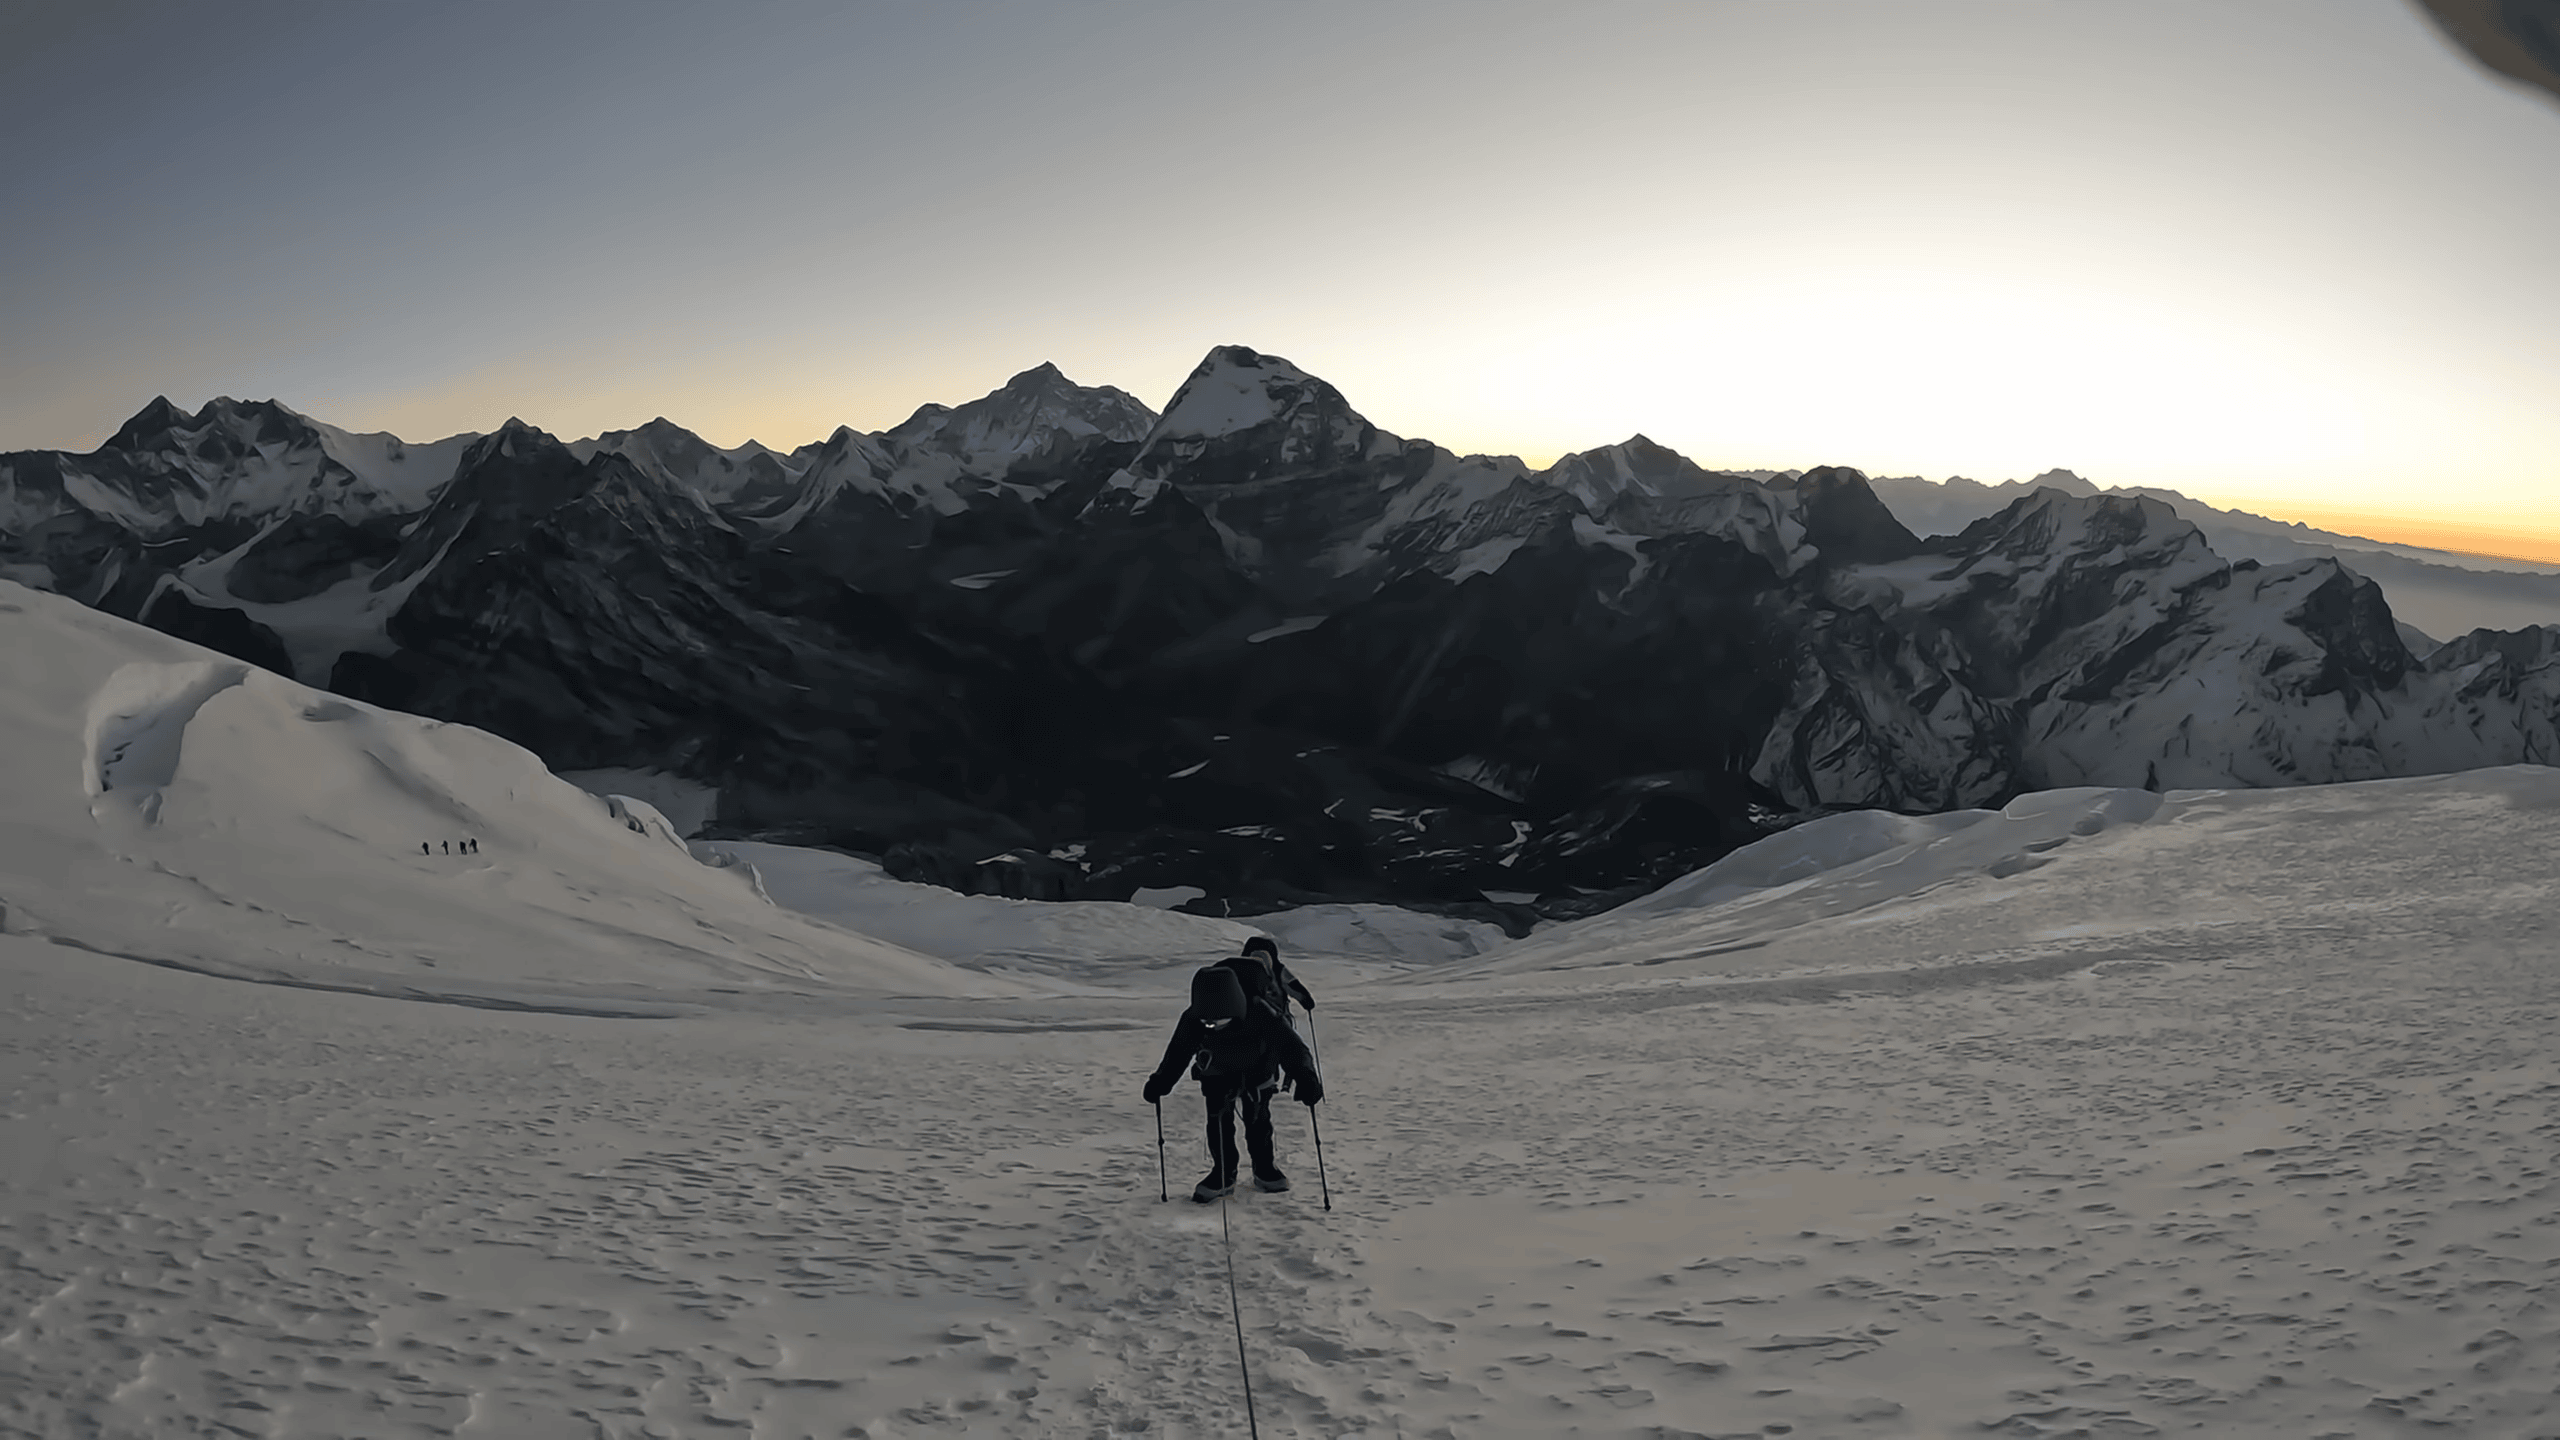
Preparing for Mera Peak climb means building the fitness to walk uphill for hours, recover overnight, and do it again. The trek to Khare comes before the snow and glacier stage, so one hard hike is not a useful test on its own. You need a steady routine that prepares your legs for several days, plus basic climbing practice before you reach Nepal.
The right plan starts with what you can do today. Someone who already hikes most weekends needs a different starting point from someone who spends most days at a desk. Use the training ideas below to build up from your own starting point rather than forcing the same schedule on every climber.
Start Mera Peak Climbing Preparation with Your Current Fitness
Before increasing your workload, take a walk on hilly ground at a pace you can keep. Notice what happens near the end. Do you still walk in control? Can you descend without stumbling or sore knees? Do your feet feel fine in the boots you wore? Those answers give you a place to start.
If a short hill leaves you worn out for days, begin with easier walks. Repeat them until recovery gets better. If you already handle full-day hikes, try more time on steeper ground or a second walking day. Your own starting point matters more than a distance borrowed from someone else.
Keep a simple record of the session, how hard it felt, and how you recovered the next morning. You will get more useful feedback from a few weeks of notes than from one fast time on a treadmill.
Build Endurance With Long Hills and Repeat Days
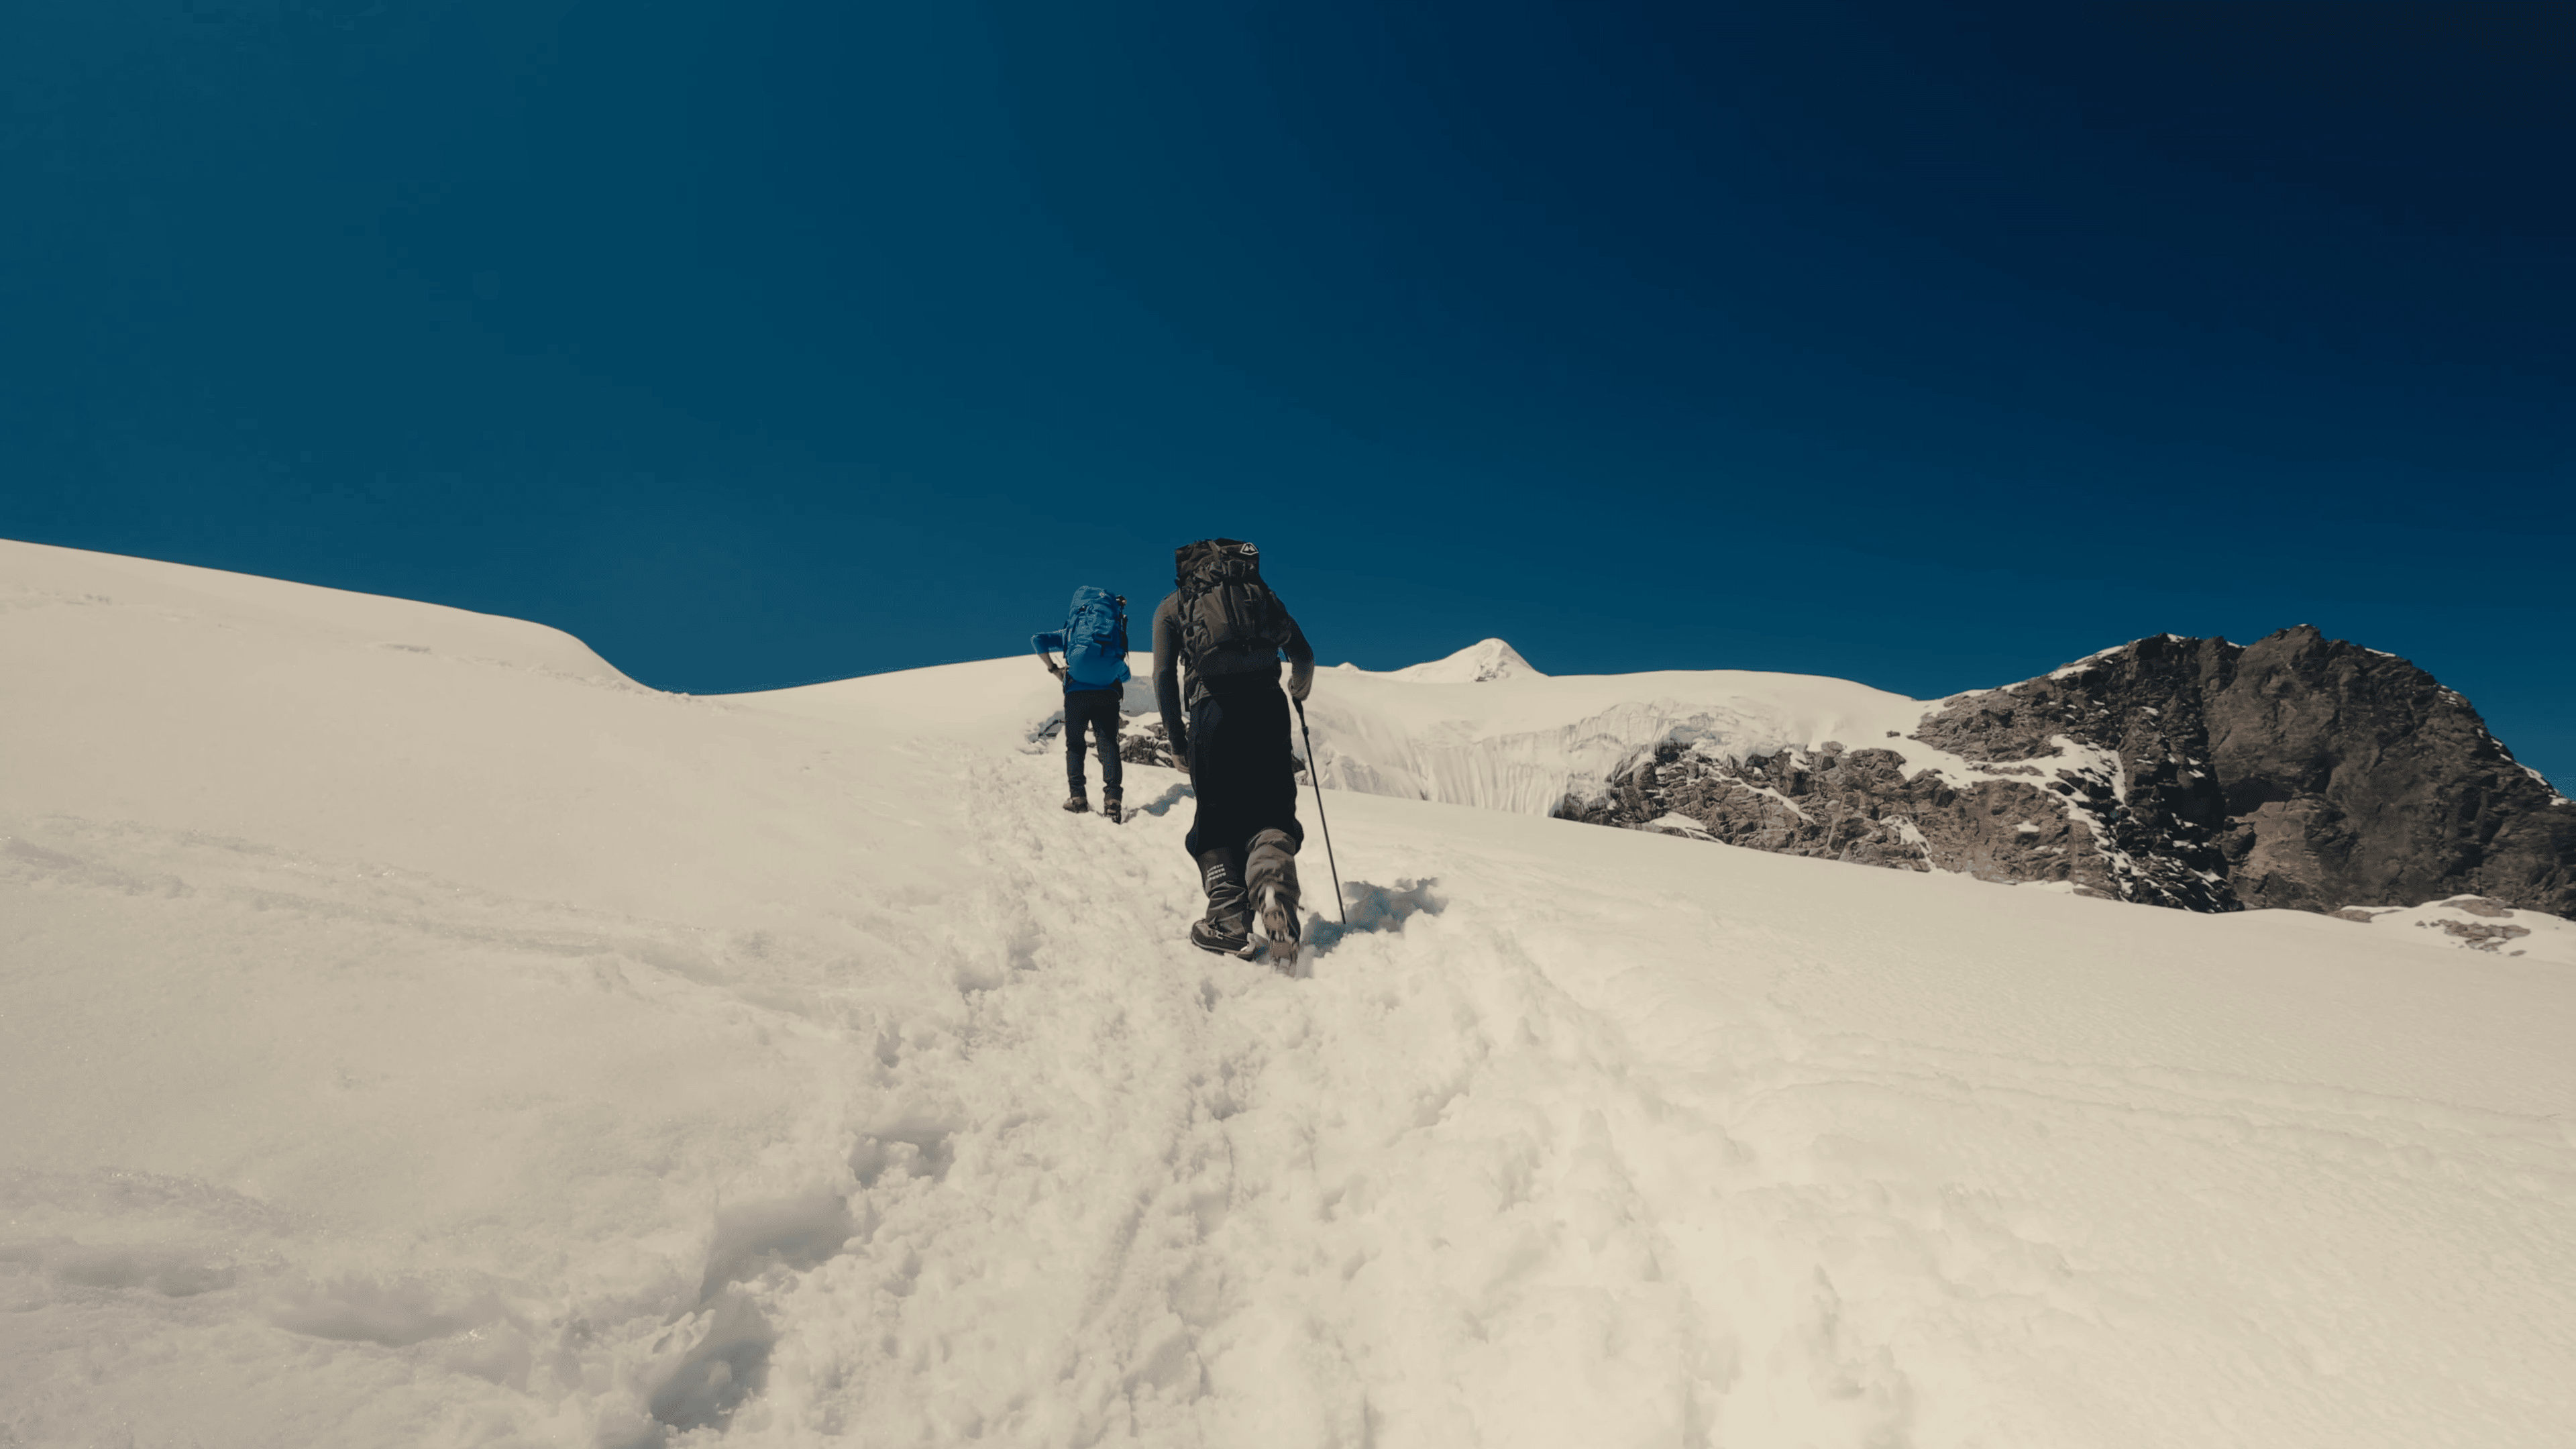
Long uphill walks are the backbone of Mera Peak training. They build time on your feet while your body deals with changing ground, a backpack, and a steady climb. Stairs and incline walking can help when you do not have trails nearby, but try to get outside when possible.
Add time to your longer walk as your recovery improves. Keep many sessions at a pace that lets you talk in short sentences. If every session feels like a race, you may be too tired to train well later in the week.
Once regular walks feel manageable, try two hill days on the same weekend or on nearby days. Make the second one shorter or easier at first. The point is to learn how you move after some effort has carried over from the day before. Stop short of pushing through pain that changes your walking style.
Train Your Legs for the Way Down
Climbers often focus on uphill fitness and overlook descent work. On a long downhill stretch, your thighs keep slowing the body with each step. That can leave your legs tired even when your breathing has become easier.
Include descents in outdoor sessions rather than treating the summit of a local hill as the end of the workout. If you only have stairs, step-down practice with good control can help. Squats, split squats, calf raises, and step-ups can support leg strength without needing a long gym program.
Start with smooth movement and a load you can manage. Use a heavier load only when you can move well. If pain changes how you walk, stop that drill. Change your plan and get advice if the pain lasts.
A Sample Training Week You Can Adapt
A useful week needs a mix of work and recovery. You do not have to train every day. The table gives one way to plan a week. Start with a pace that suits you and leave room for rest.
Session | What it is for | How to adapt it |
|---|---|---|
Long hill walk | Time on your feet, uphill pacing, descent | Begin with a duration you recover from well; add time over later weeks |
Shorter hill or stair session | Repeated climbing effort | Keep it easy if the long walk left you tired |
Strength session | Leg control, hips, calves and trunk | Use simple movements with steady technique |
Easy walk or light ride | Stay active without another hard day | Reduce it when you need more rest |
Supervised gear practice | Crampons, ice axe and rope familiarity | Schedule with a trained instructor where suitable |
If you are new to regular hiking, begin with the easy sessions and one manageable hill day. Experienced hikers can build longer days or occasional back-to-back walks. A coach or clinician can help you adjust the plan if you have an injury or health concern.
Practice Crampons and Rope Movement Before Nepal
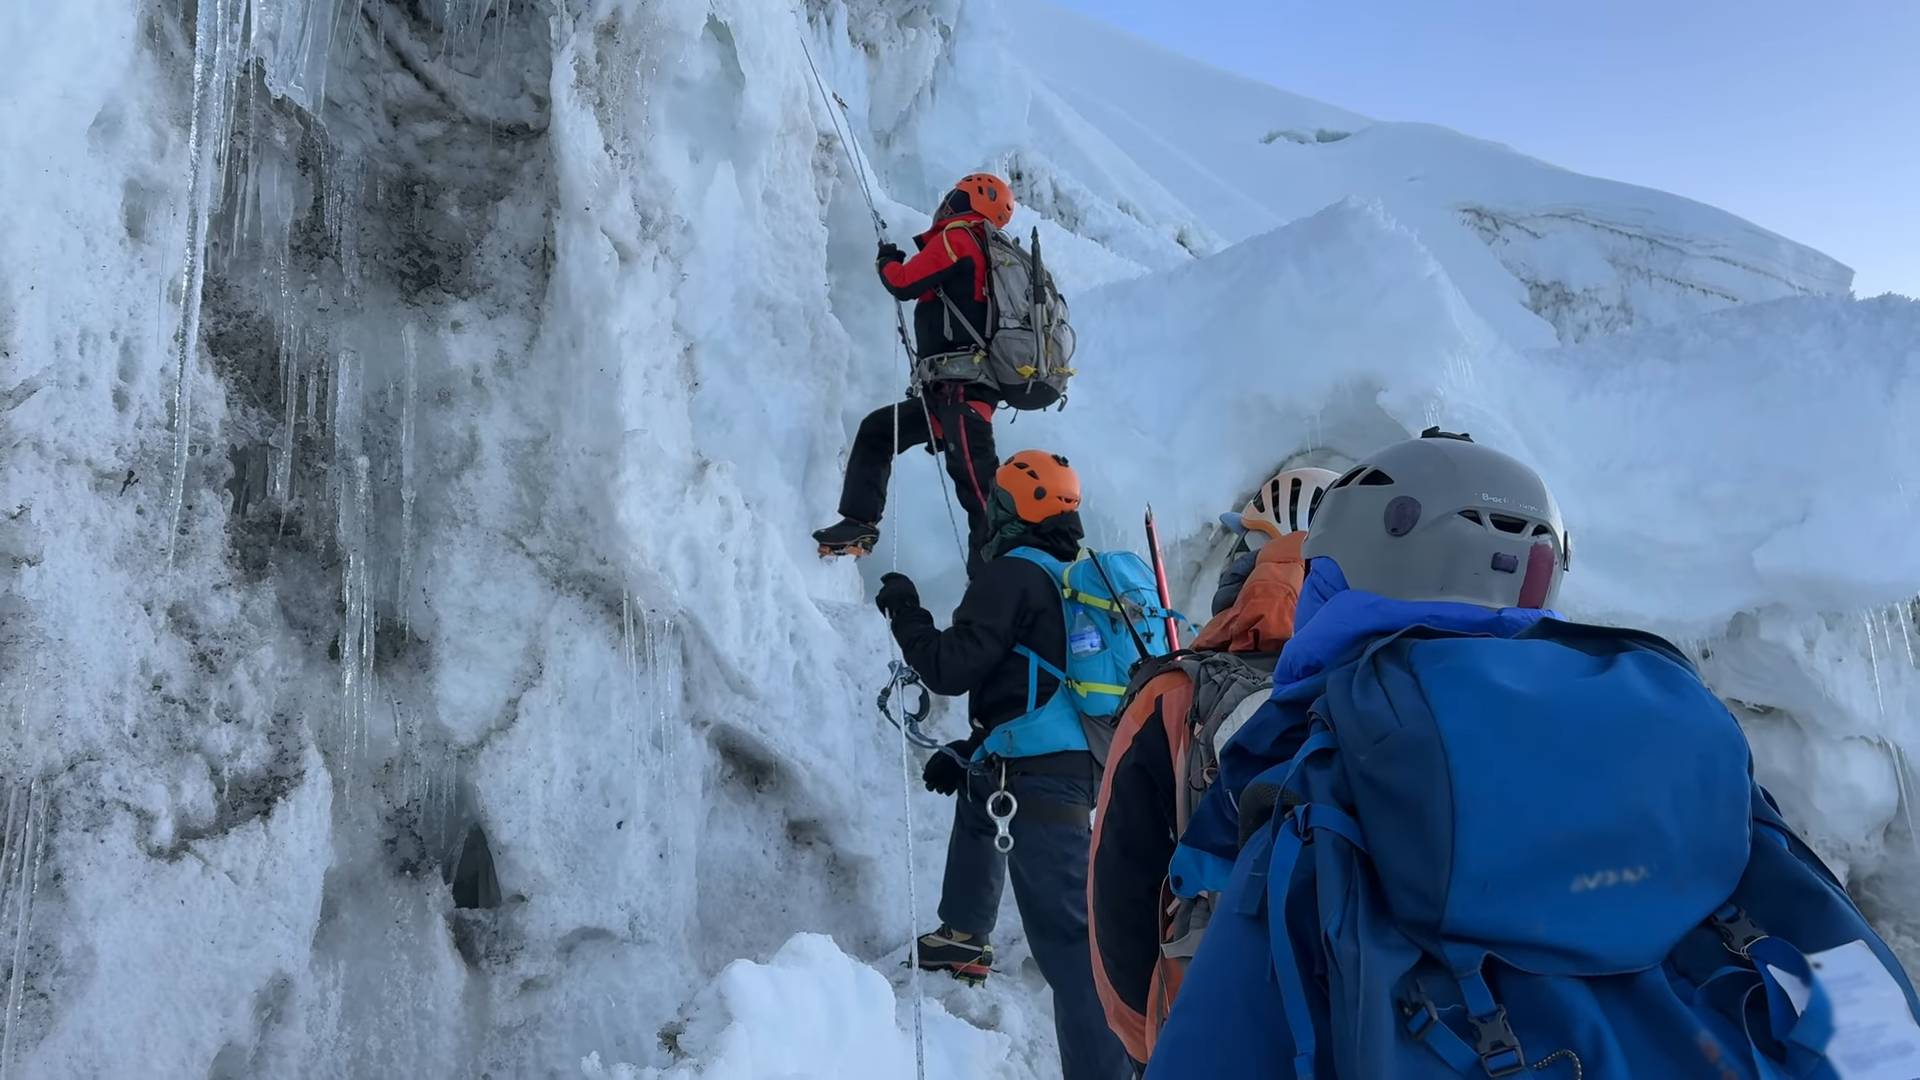
The route above Khare uses climbing equipment that normal trekking does not. Boots and crampons must fit as a working pair. Your ice axe and rope system should be familiar enough that the guide's instructions are clear, even when your hands are cold.
Learn with a trained climbing coach on safe ground. Practice fitting crampons, walking in them, and handling the equipment your guide expects. Do not try to learn crevasse rescue or other high-risk rope skills alone from a video. The aim is guided-climb readiness, not independent climbing.
A practice day in Nepal remains useful. It lets the climbing team check what you learned and explain the setup used for that departure. It should not be the first time you have seen your own equipment.
Test Your Boots, Daypack and Clothing on Real Walks
A boot can feel comfortable indoors and rub after hours on a slope. Wear trekking boots on longer outings and check for heel movement, toe pressure, and hot spots. Use the daypack you expect to carry with water and your normal extra layer. Your pack should stay balanced as the trail rises and falls.
Check climbing boot fit separately from trekking footwear. The crampon must match the climbing boot, and that match needs a hands-on check before the mountain stage. Rental gear may be an option, but do not assume the right size or model will be in stock without checking.
Try your layers during outdoor walks in cool or windy weather when it is safe. Learn where you keep gloves, a shell, water, and snacks so you do not need to unpack the whole bag at each stop. The gear list is a separate decision from the training plan, but a poor fit can undo good preparation.
A Stronger Body Does Not Mean Faster Acclimatization
Training helps you handle walking and climbing effort. It does not lower your risk of altitude illness. Even a very fit person needs a sensible plan for gaining sleeping altitude.
Once you reach Nepal, tell your guide about new symptoms early and follow the guide's decisions about ascent. Do not try to prove your fitness by walking faster than the group or skipping a rest day. If you have a health concern, speak with a doctor who knows about high-altitude travel.
At home, keep your focus on physical fitness and skill practice. The itinerary has a different job: give your body time to adjust as you gain height.
What to Do During the Final Two Weeks
Near departure, avoid trying to make up for months of missed training. Keep walking, but start reducing the hardest sessions so you can travel without sore legs or an injury. The right amount of rest depends on your past training. The goal is to arrive ready, not set a new record.
Use that time to fix small problems. Check whether your boots still fit well, whether you can pack your daypack quickly, and what equipment you will bring or rent. Confirm how climbing practice fits into the trip plan.
You should be able to finish a long hill day at a steady pace. Your legs should feel under control on the way down. After some rest, you should be able to walk well again. It is not a promise of a summit. For the full commercial schedule and the day set aside near Khare, see the Mera Peak climbing itinerary.